How to Design a Swimming Pool That Fits Your Yard
A clear, practical framework for how to design a swimming pool that genuinely fits your yard's size, shape, and site conditions.
How to Design a Swimming Pool That Fits Your Yard: 8 Smart Steps
How to design a swimming pool that fits your yard is a question worth answering before you fall in love with any specific shape or style. The most common mistake homeowners make is starting with aesthetics instead of logistics: they see a stunning freeform pool in a magazine, then discover their yard is 45 feet wide with a slope on one side and a utility easement on the other. At that point, they’re trying to force a dream into a space it was never designed for.
The better approach flips that order. Let your yard’s actual dimensions, setbacks, soil, and sightlines tell you what’s possible first, then refine your design from there based on how you’ll use the pool and the look you want. This isn’t about settling for less, it’s about avoiding a redesign, a budget overrun, or a pool that technically fits but never quite feels right in the space.
This guide walks through how to design a pool that fits your yard, covering how to measure your usable space, account for legal setbacks, choose a shape suited to your yard’s proportions, and factor in sun, privacy, and future landscaping before a single shovel goes into the ground. Whether you’re working with a compact urban lot or a sprawling suburban backyard, these steps will help you land on a design that genuinely works with your space instead of fighting it. Let’s start with the measurement that matters most.
Why Yard-First Pool Design Beats Shape-First Design
Choosing a pool shape before understanding your yard’s real constraints is how most expensive redesigns happen. A yard-fitted pool design starts by identifying what your site can actually support, buildable area, access, drainage, and legal setbacks, and only then moves on to style choices like freeform curves or clean rectangular lines. This order matters because a shape that looks perfect on paper can be structurally or legally impossible on your specific lot.
1. Measure Your Usable Yard Space, Not Just Its Total Size
The first step in pool design isn’t picking a shape, it’s figuring out exactly how much space you actually have to work with. “Usable” space means flat or reasonably flat ground that isn’t occupied by septic fields, easements, underground utilities, or root systems you don’t want to disturb.
To get an accurate picture:
- Measure your yard’s total length and width, or reference the measurements in your property deed.
- Identify and exclude any septic fields, utility easements, or drainage paths.
- Note existing fixed elements, trees, sheds, decking, or slopes, that will influence where a pool can realistically go.
- Compare this usable footprint against the pool sizes and shapes you’re considering.
Skipping this step is the single biggest reason homeowners end up redrawing pool plans after falling for a design that simply doesn’t fit.
2. Subtract Your Local Setback Requirements
Once you know your yard’s usable area, subtract the legally required setback distances before you start sketching pool shapes. Most municipalities require a minimum distance, often around five feet, between a pool and a fence, structure, or property line, though this varies significantly by location. Setbacks typically apply to:
- Property lines and fences
- The house itself and any attached structures
- Septic systems and utility easements
- Overhead or underground utility lines
Because these rules vary by city and county, it’s worth checking your specific requirements with your local building department before finalizing a layout, since a shape that fits your yard on paper can still be non-compliant once setbacks are applied.
3. Choose a Pool Shape That Matches Your Yard’s Proportions
With your real, setback-adjusted footprint established, you can start matching a pool shape to your yard’s actual proportions rather than a shape you saw somewhere else.
Rectangular Pools
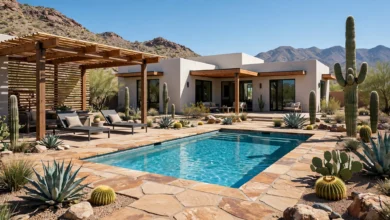
Rectangular pools work well in yards with clean, regular proportions and are the go-to choice for homeowners who want lap swimming space or a structured, modern look. A common design guideline is to aim for roughly a 2:1 length-to-width ratio, which keeps the pool visually balanced rather than looking like an oversized lap lane or an awkward square.
Freeform Pools
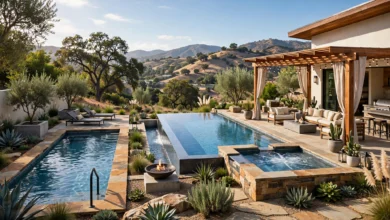
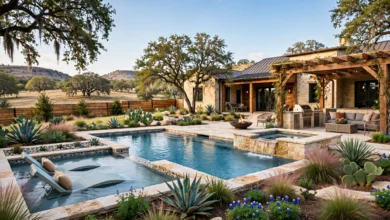
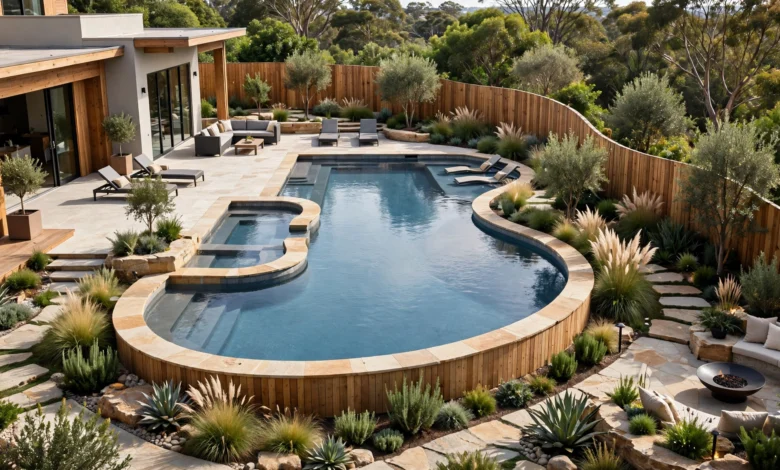
Freeform pools are built specifically for yards with irregular shapes, tight corners, or awkward site conditions where a rectangular design would waste usable space or simply not fit. Their curved lines can follow the natural contours of a yard, though they generally require more complex excavation and site access than a straightforward rectangle.
L-Shaped Pools
An L-shaped pool combines a swim zone with a separate lounging or shallow area, which works particularly well for zoning a backyard into distinct activity spaces. This shape is a strong option for medium to large yards that want both a lap-friendly stretch and a more relaxed area without building two separate features.
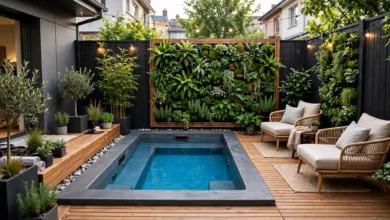
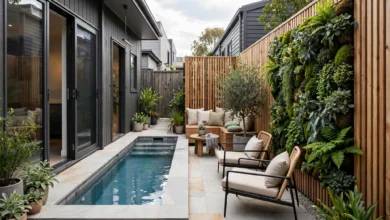
Compact Layouts for Small or Narrow Yards
For genuinely tight lots, three layouts consistently outperform a scaled-down version of a larger design:
- Plunge pools – Trade length for depth, ideal for small footprints where a full-size pool won’t fit.
- Spools (cocktail pools) – A hybrid between a spa and a small pool, combining heating speed with a compact footprint.
- Narrow lap pools – Long and slim, well suited to a narrow side yard or elongated lot.
4. Account for Decking, Fencing, and Equipment Space
A pool’s water footprint is only part of the space it actually needs. Once you’ve settled on a shape, add room for:
- Decking – Generally 4 to 6 feet around the pool perimeter for walking, lounging, and furniture.
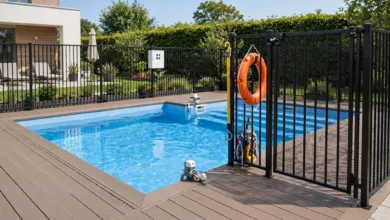
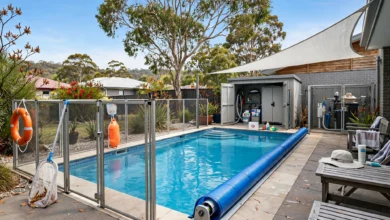
- Fencing – Required by law in most areas, and it needs its own clearance from the water’s edge.
- Equipment pad – Pumps, filters, and heaters need a dedicated, accessible space, ideally screened from view but still reachable for maintenance.
- Walking margins – At least a few feet of clearance on open sides of the yard for practical access and future maintenance.
Underestimating this surrounding footprint is one of the most common reasons a pool ends up feeling cramped even when the water itself fits the yard.
5. Factor In Sun Orientation and Shade
Where the sun falls across your yard throughout the day should directly influence pool placement, not just aesthetics. A pool positioned to catch maximum afternoon sun will generally stay warmer naturally and reduce heating costs, while a pool tucked into a shaded corner may need more mechanical heating to reach a comfortable temperature. Walk your yard at different times of day before finalizing placement, and note where existing trees or structures cast shade that could affect both water temperature and how comfortable the surrounding deck feels underfoot.
6. Consider Privacy and Sightlines
Sightlines matter just as much as square footage when designing a pool that fits your yard. Walk the space from a few key vantage points, the kitchen window, the back deck, and the areas where neighbors might be able to see in, and ask where the pool would feel like a natural extension of the house versus where it might feel exposed. This exercise often reveals a preferred pool location that isn’t simply “the biggest open patch of yard,” and it can shape decisions about fencing, screening plants, or how the pool’s orientation relates to the house.
7. Plan for Drainage and Grading From the Start
Even flat lots need some degree of controlled grading for a pool project, since excavation, patio base work, and drainage paths all need to direct water away from the pool structure and the home’s foundation. On sloped yards or lots with known drainage issues, grading becomes a much larger part of the overall project scope and budget. According to guidance from the U.S. Environmental Protection Agency on managing stormwater runoff, properly directing water away from structures and hard surfaces reduces erosion and water damage risk, a principle that applies directly to how a pool deck and surrounding landscaping should be graded.
8. Leave Room for Future Landscaping and Living Space
A pool that technically fits a yard but leaves no room for anything else around it rarely feels finished. As you finalize dimensions, think ahead to:
- Planting beds or a privacy screen along the fence line
- A small dining or lounge area near, but not crowding, the pool
- Space for children’s play areas if relevant to your household
- Room for a future shade structure, pergola, or fire feature
Leaving intentional breathing room around the pool, rather than maximizing water surface at the expense of everything else, generally produces a backyard that feels considered rather than overbuilt.
Quick Planning Checklist
Before finalizing your pool design, confirm the following:
- Usable space – Have you measured your yard accurately, excluding easements and septic areas?
- Setbacks – Have you subtracted your local required clearances from property lines and structures?
- Shape fit – Does your chosen shape match your yard’s actual proportions rather than a shape borrowed from elsewhere?
- Surrounding footprint – Have you planned for decking, fencing, and equipment space, not just the water itself?
- Sun and shade – Does the pool’s placement take advantage of natural warmth where possible?
- Privacy – Have you walked the yard from key vantage points to check sightlines?
- Drainage – Is grading planned to direct water away from the pool and home?
- Future space – Is there room left for landscaping, seating, or features you might add later?
Conclusion
Learning how to design a swimming pool that fits your yard comes down to sequencing your decisions correctly: measure your real usable space first, subtract legal setbacks, then choose a shape and size that suit your yard’s actual proportions rather than a design pulled from a magazine or a neighbor’s property. Factor in decking, equipment space, sun exposure, privacy, and drainage before finalizing anything, and leave enough room for the landscaping and living space that will make the finished pool area feel complete. Get this sequence right, and you’ll end up with a pool that looks like it was always meant to be there, rather than one that was squeezed in and never quite fits.